

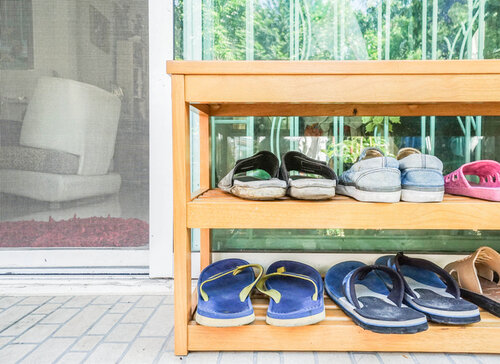
We're all guilty of it — that pile of shoes thrown haphazardly beside the door. When you finally get home after a long day, you just want to peel off your shoes and go relax. Shoe racks to keep in the entryway of your home are ideal to reduce clutter without inconvenience. Luckily, shoe racks are easy and quick to craft yourself from goods you have at home.
WHAT YOU'LL NEED
-
Leftover lumber or wooden crates. Providing structure for your shoe rack is the best way to ensure it lasts. Scrap wooden boards or crates are the perfect match for this project, but anything solid will do.
-
Measuring tape. Same-sized pieces create a clean-looking piece.
-
Nails or screws. These are essential for keeping your DIY project together.
-
A screwdriver, drill, or hammer. Just one will do, but they're necessary for easy building.
-
Sanding paper (optional). If your wood (or other material) is already smooth, you can skip over this. However, rough wood should be sanded to avoid splinters.
HOW TO ASSEMBLE
To start, pick out where you want to display your shoe rack. Then measure the length and width of the space; the last thing you want is to build a rack that doesn't fit in your home. Measure your materials to be sure they'll fit in the space you chose. Once you're confident in the placement, it's time to begin.
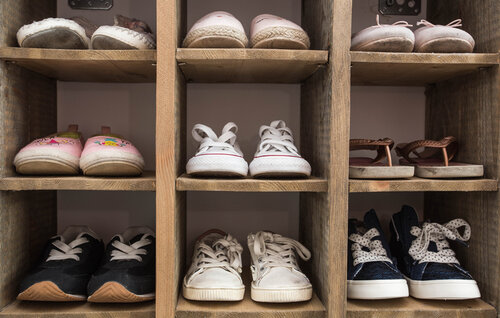
If using crates to build, stack 2-3 into a column. Once they're centered on each other, use your nails or screws to reinforce them together. Create another stack and repeat. Continue this process until you have enough spaces for all of your shoes. Then, nail or screw together all of your columns. You should now have one sturdy piece of furniture with outlets for all of your storage needs. Add any paints, stains, or decorations you wish, and place it in your entryway.
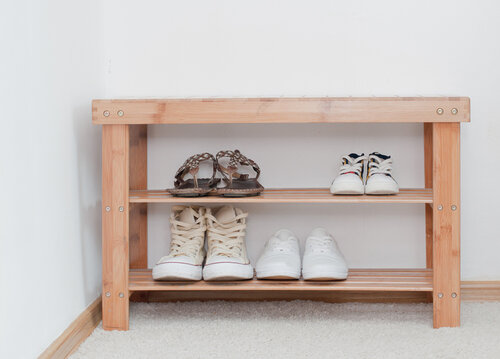
Lumber or other materials will need a body first. Taking three boards, connect them into an H shaped frame. Then, depending on how much storage you need, you can add additional shelves above or below the central board. Be careful when working with loose boards; connecting them can be difficult, since they fall away without a tight grip. If you can, ask a friend to help you hold them steady. Once your frame is complete, sand as necessary, decorate, and set in your home.
Hopefully these projects won't be a challenge, and your home can have some much-needed storage.


